
Snickerdoodle Muffins

I had the motivation last night to decide I would make muffins for breakfast today. Probably due to the massive amounts of caffeine I drank before bed, bad idea. As a result, I didn't fall asleep until almost 3:00am. At least I had the foresight to measure all my dry ingredients out and have everything ready for this morning. Snickerdoodles are one of my favorite cookies, and I thought it would be fun to make a muffin version that is dipped in a cinnamon sugar mixture. They turned out nice and moist, with the same crunchy, crackle effect on top that the cookies have.

2 sticks butter, unsalted
1 Cup sugar
1 tsp vanilla extract
1 tsp almond extract
2 eggs
3/4 tsp baking soda
3/4 tsp baking powder
3/4 tsp cream of tartar
3/4 tsp ground nutmeg
1 1/4 Cup buttermilk
1 1/2 Cup all-purpose flour
3/4 Cup whole wheat pastry flour (or whole wheat flour)
1 Cup sugar mixed with 2 Tbsp cinnamon in a small bowl, for rolling
Pre-heat your oven to 500 degrees. Cream the butter and sugar together until soft. Add the vanilla and almond extracts. Add the eggs in one at a time, mixing after each one until incorporated. In a separate bowl, combine the flours, baking soda, baking powder, cream of tartar, and nutmeg.
Add the dry ingredients and the buttermilk alternately to the butter mixture, starting with the flour and ending with the flour. Scrape the sides of the bowl occasionally. Using an ice cream scoop, scoop out the batter and drop in the cinnamon sugar mixture. Sprinkle the sugar all over the batter, then drop into a greased muffin pan.
Lower your oven temperature to 375 degrees, and immediately bake the muffins for 18-20 mins, until the tops are golden. Muffins are done when a toothpick inserted into the center comes out clean. Do not over bake. Remove the pan and let the muffins cool in the pan for about 5 minutes. Carefully remove.
Tip: When you put muffins in a very hot oven and immediately drop the temperature, you help create the high peaks that make them attractive.

Source: adapted from culinary concoctions by peabody
Pulled Chicken Sandwiches

It was hot here today. The heat index was a sticky 103 degrees and needless to say I did not want to heat up my kitchen using the oven. The answer? My trusty ol' crockpot. I wanted to make pulled chicken sandwiches and didn't want a barbeque type sauce, so I used a spice rub that I had made the other day for a different recipe. While I may still tweak it a bit, it was good and all the family liked it. I served it on the little Hawaiian rolls and topped it with some melted cheese.

Pulled Chicken Sandwiches
3 Tbsp brown sugar
2 Tbsp salt
1 Tbsp paprika
1 1/2 tsp garlic powder
1/2 tsp fresh ground pepper
1/4 tsp dry mustard
1/8 tsp cinnamon
4 Chicken breasts
1 Cup chicken broth
Rolls
Shredded cheddar cheese
Mix all of the spice ingredients together in a small bowl to make the rub. Sprinkle 2-3 tablespoons of the rub over 4 chicken breasts, and rub in. Put the chicken broth in the crockpot, followed by the chicken breasts. Sprinkle about another 1-2 tablespoons of the rub into the crockpot.
Cook on high for 2 hours, or low for 4 hours. Each crockpot cooks differently, so check the chicken periodically to gauge how much more time is needed. Don't remove the lid until you think the chicken is done, because this will cause the cooking temperature to drop. When the chicken is done, remove from the crockpot and shred with a fork.
Remove most of the chicken broth from the crockpot. Put the shredded chicken back into the crockpot and add enough of the chicken broth back to make it your desired consistency. Place some of the shredded chicken on a roll, and top with shredded cheese. Put the rolls on a plate under the oven broiler for a few minutes until the cheese is melted. Serve with your favorite sides and enjoy.
Tip: This rub will make more than you need, it saves well and can be used for other recipes.

Candied Saltines

Today my son begged me to make him some 'cracker candy'. This is a treat that I make him every now and then, that he absolutely loves. It always ends up with his little face and hands smeared in chocolate, and me holding him at arms length while I propel him toward the bathroom to clean up.
It's so addictive that the mess is worth it. The crunchy saltiness of the crackers pair really well with the sticky sweetness of the homemade toffee sauce and melted chocolate. Try to eat just one. I bet you can't.
Candied Saltines
24 saltine crackers
1/2 Cup (1 stick) of butter
1/2 Cup brown sugar
3/4 Cup semi-sweet chocolate chips
Heat your oven to 400 degrees. Place the crackers in rows inside a quarter sheet pan. In a saucepan melt the stick of butter, then add the brown sugar. Bring the mixture to a full boil, and allow to boil for 4 minutes, stirring constantly. It is important to keep stirring so your mixture doesn't burn. Now pour the mixture over the saltines and spread around so the crackers are evenly covered. The mixture will be thick. Put the pan in the oven for 3-4 minutes. Remove the pan and sprinkle the chocolate chips over the caramel mixture. Let sit for a few minutes so the chocolate begins to melt, then spread the chocolate evenly over the surface. Place the pan in the freezer to chill completely. When ready, take the pan out and either cut the candy into pieces, or break it into chunky pieces.
Tip: You can double the recipe to fit a half sheet pan if making for a large gathering. For extra variety you can sprinkle a topping over the chocolate before placing the the freezer. I have tried peanuts, almonds, sunflower seeds, m&m's, etc.

Cinnamon Banana Pudding

One of my favorite desserts growing up was my moms banana pudding. It was simple and very good. We didn't have nilla wafers or graham crackers in Wales, so she used a type of cookie they have called Digestives. While the name may not sound very appetizing and might conjure up images of things of the digestive nature, these British cookies are mysteriously addicting. They are sort of similar to a round graham cracker, but thicker and more buttery. They hold up well under the pudding, and don't get the soggy texture like nilla wafers do. She also kept it simple by not adding any whipped topping...just layers of cookies, bananas, and pudding...with a sprinkle of nutmeg on top.
I decided to recreate her pudding last night, but had to use good ol' American nilla wafers since I can't buy Digestives here. Now don't get me wrong, there's nothing wrong with nilla wafers, I just prefer the cookies. Half way through making the pudding, I had the idea to add cinnamon to the pudding and make it into cinnamon pudding. I also used turbinado sugar instead of white sugar, to give it that brown sugar taste. The result was sooooo good. I could have eaten the whole pan of warm cinnamon pudding by itself.

3/4 Cup turbinado sugar (you can use white or brown sugar too)
3 Tbsp organic cornstarch
3 Cups milk
2 beaten eggs
1/4 tsp cinnamon
1 1/2 tsp pure vanilla extract
1 Tbsp butter, unsalted
4 large bananas, sliced
Nilla wafers, graham crackers, or cookie of choice
In a heavy medium saucepan combine the sugar, cornstarch, and cinnamon. Slowly whisk in the milk and cook over medium heat until bubbly, stirring constantly. Cook and stir for 2 more minutes, then remove from heat. Gradually stir one cup of the milk mixture into the beaten eggs. Now add the egg mixture to the milk mixture in the saucepan, and cook until almost bubbly, but do not boil. Reduce heat. Cook and stir for 2 more minutes. Remove from heat.
Add the tablespoon of butter, and the vanilla extract and stir. In an 8x8 baking dish (or similar size) layer some of the cookies until the bottom is covered. Place a layer of banana slices over the cookies. Pour a layer of pudding over the bananas. Continue the layer of cookies, bananas, and pudding until you reach the top of your dish. Sprinkle a little nutmeg over the top of the pudding, if desired. You can serve it warm, or cover with plastic wrap and refrigerate until ready to eat. Yum.

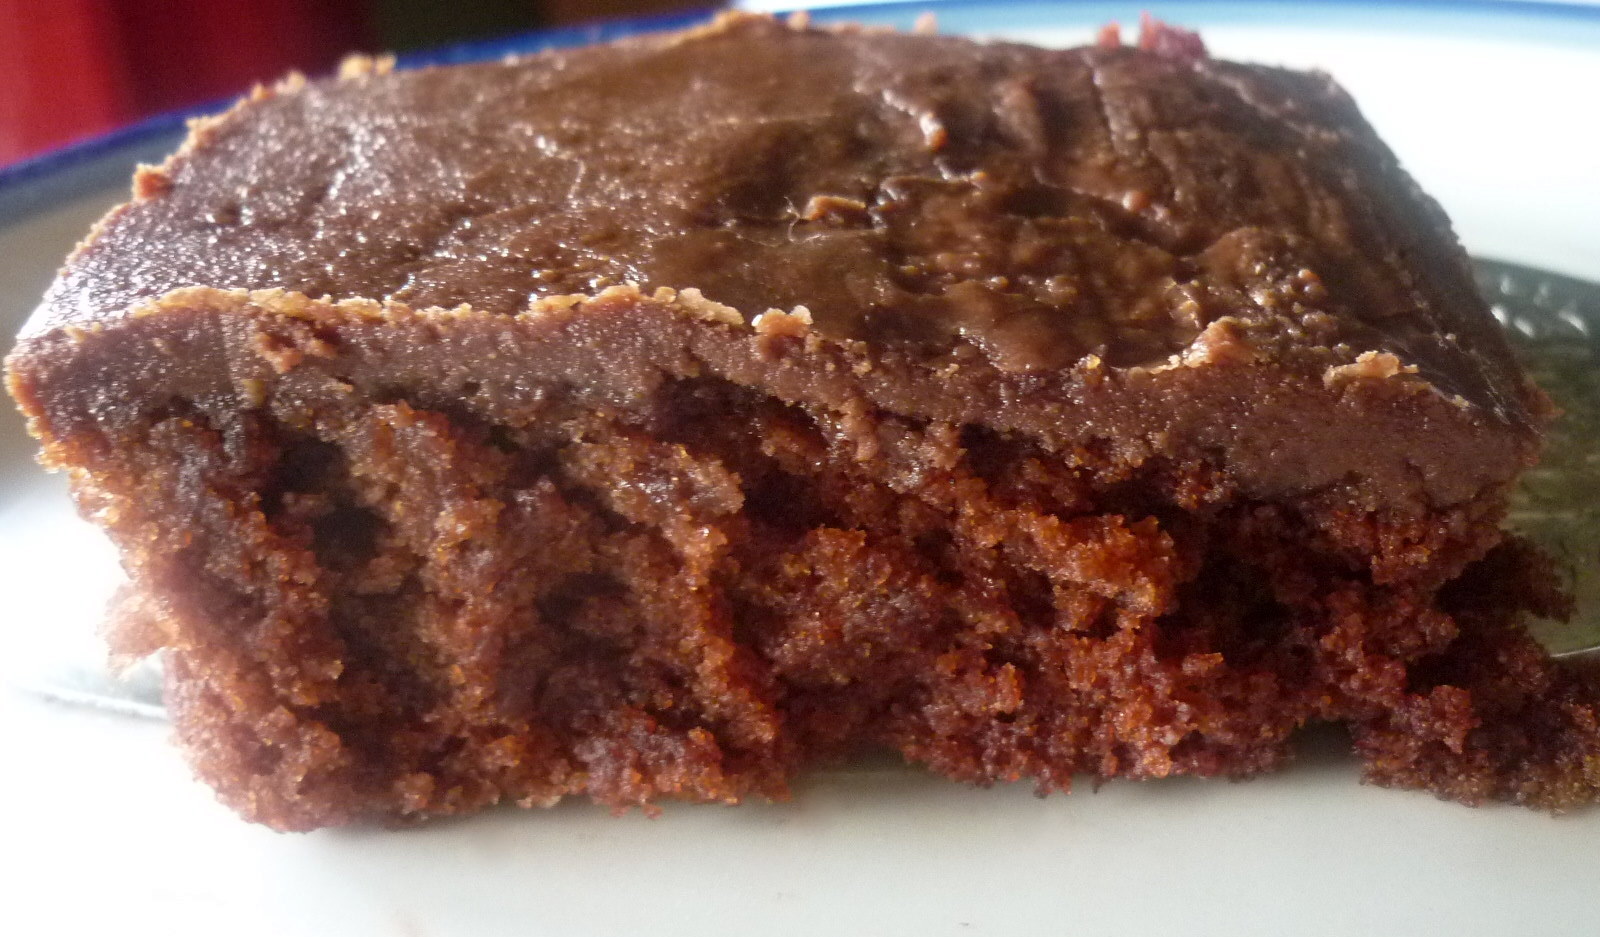
Cheap Chocolate Cake

better the next day.

Cheap Chocolate Cake
3 Cups all-purpose flour (this cake works great with whole wheat pastry flour)
2 Cups sugar
1/3 Cup cocoa
1 tsp salt
2 tsp baking soda
3/4 cups oil
2 Tbsp white vinegar
2 tsp vanilla
2 Cups hot water
For the Cake:

For the Glaze:
1/3 Cup milk (any fat percentage works fine)
1 Cup sugar
3 Tbsp cocoa
1 tsp pure vanilla extract (added at the end)
In a small saucepan bring the milk to a simmer, then add the sugar and cocoa. Bring to a boil and cook for 2 minutes at a full boil, stirring frequently. Remove from heat and let cool for a few minutes. After glaze has cooled for a few minutes, whisk in the vanilla. Now use a fork to poke holes in the surface of the entire cake. Pour the glaze over the cake, and spread evenly with a spoon, making sure the whole surface is covered. Let cool until the glaze has hardened. It will become smooth and hard to the touch once cooled. This hardening process may take just a few minutes, or up to an hour. So make sure you keep an eye on the glaze while it is cooling in the pan. You don't want it to set up in the pan, and not be able to pour it over the cake. Serve and enjoy! This cake keeps very well for several days...if it lasts that long. :)
Rustic Peach Tart

I walked into the kitchen today to find my baking cupboard emptied, and containers of flour and sugar lining my counter. Perched on the edge of a chair, my 3 year old son is mixing up a mysterious concoction, proudly grinning at me as I catch him red handed. "What are you doing?" I ask, he replies, "Makin sumtin". I find it hard to get after him, so I simply join in and we end up putting together a peach tart. Well...it was mostly me, while he continued his own pre-schoolesque recipe next to me. I left the skin on the peaches because I like the way it looks, but you can remove the skin too.

Crust:
11/3 Cups Whole Wheat Pastry Flour (or whole wheat flour)
1/3 Cup Turbinado Sugar
6 Tbsp Chilled Butter, cut into pieces
1 Egg, plus 1 Egg Yolk
1/4 tsp pure vanilla extract
Filling:
3 Large Peaches, cut into slices
1/4 tsp Cinnamon
1/4 tsp Nutmeg
Turbinado sugar to sprinkle
Sea salt to sprinkle
For the pastry: Combine the flour, sugar, and butter in a bowl. Work it together with your fingers or a fork, until it forms coarse crumbs. Add the egg, extra egg yolk, and vanilla. Mix together until a smooth ball forms. Wrap in plastic wrap and chill in the freezer for about 20 minutes.
For the filling: Place the sliced peaches in a bowl, sprinkle cinnamon and nutmeg on top and lightly toss. Place in the refrigerator until dough is chilled. Preheat oven to 400 degrees.
Once chilled, remove the dough from the freezer and unwrap. Place a sheet of parchment paper on the counter. Place dough on the parchment paper, with the plastic wrap on top of the dough. Roll dough out between the parchment paper and plastic wrap, to a circle about 12 to 13 inches. Gently peel off the plastic wrap.
Using the parchment paper, flip the dough over into an un-greased ovenproof skillet, or an 8 to 9 inch baking pan. Let it settle into the pan, but don't remove the paper yet. Press the pastry onto the bottom and sides of the pan. Now gently peel away the parchment paper. If the dough tears, just press the tears together. By this time my dough had softened up a little too much, so I put the pan into the freezer for about 5 minutes to make it easier to work with.
Arrange the peach slices inside the pan, and sprinkle with a couple tablespoons of raw sugar, and a little sea salt if desired. Fold the pastry edges in and over the fruit. Bake for about 40 minutes, or until the fruit is starting to get golden brown and the pastry is crisp. Serve plain or with a dollop of freshly whipped cream.

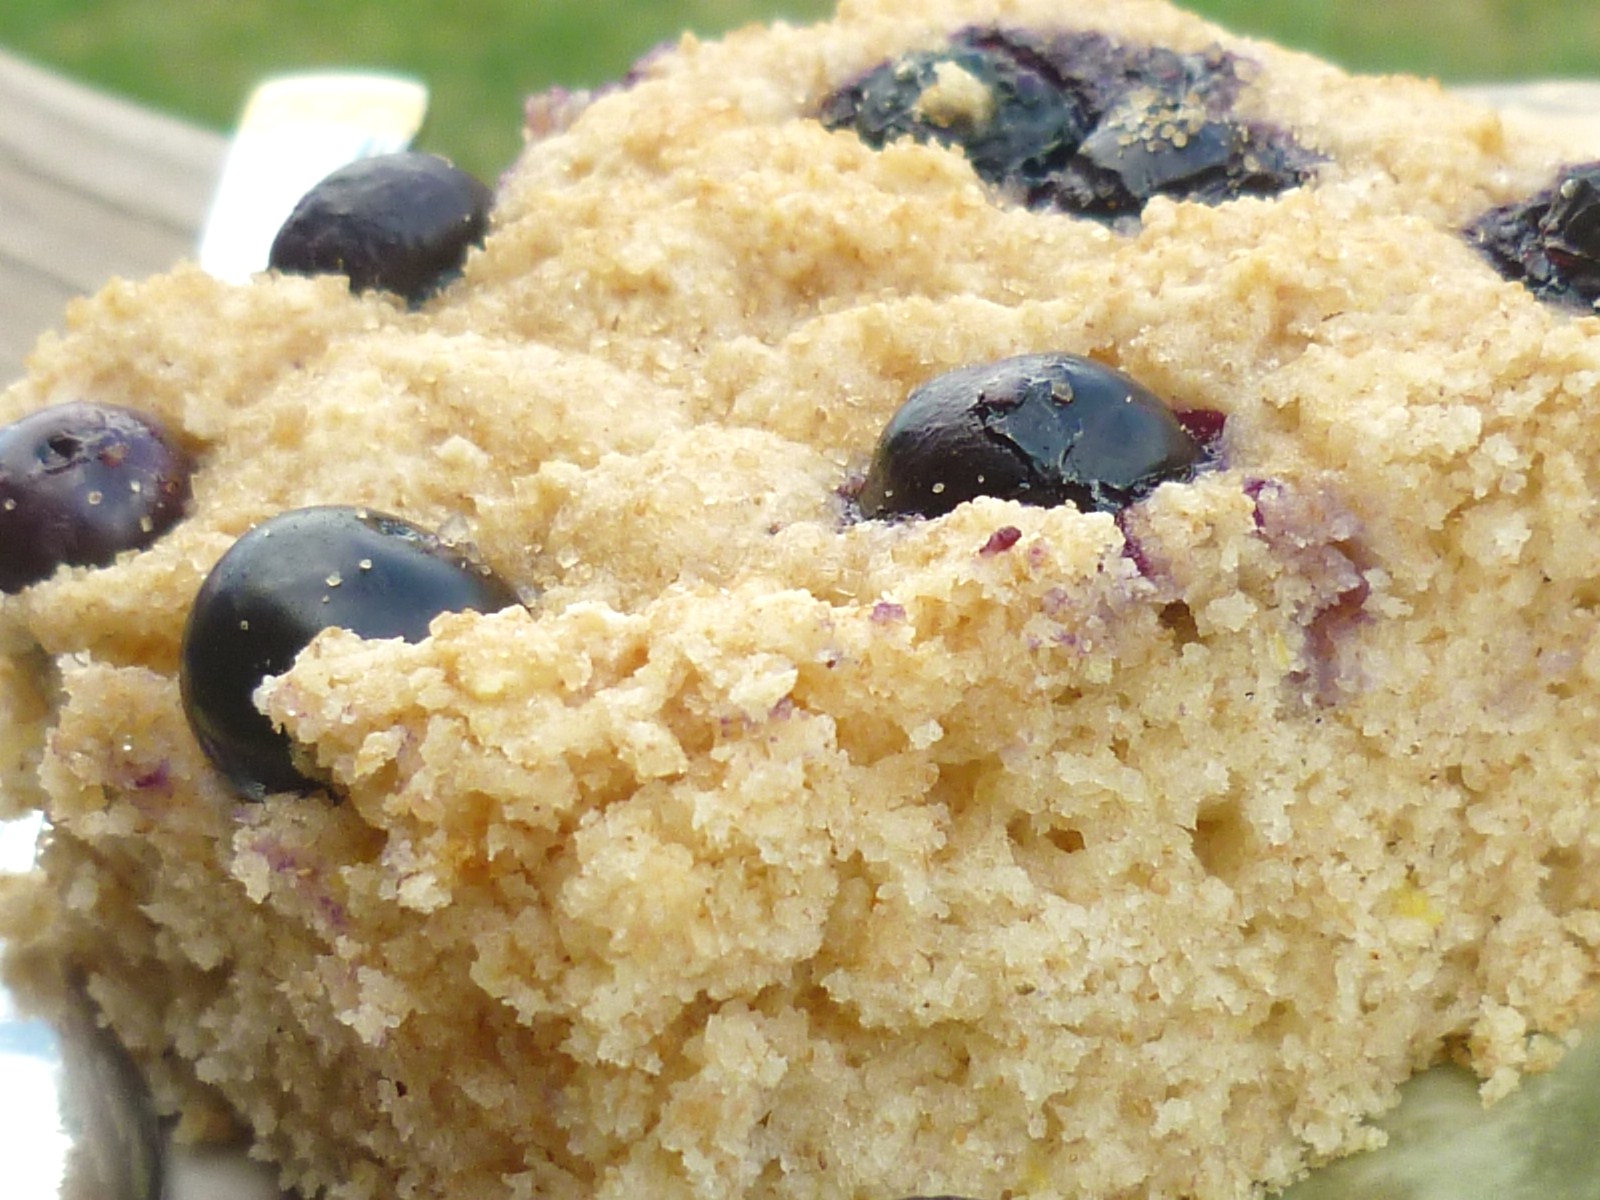
Berry Buttermilk Cake with Whole Grains

I did not have a fun day today. My cat threw up the remains of her meal on my new rug, my husband was a self proclaimed cripple, laid up in bed, and my son sprinkled piles of flour from my living room to his bedroom. He was baking a cake, so he said.
Once I finally got some semblance of order established, I decided I needed a treat to relax. I bought some buttermilk when I went grocery shopping because I knew I wanted to try this buttermilk cake, and I had about a cup of blueberries with "bake me" written over their tiny blue faces.
So I listened to their unspoken message and got to work. By now you may have noticed I try to add in some whole wheat pastry flour whenever I can, and this recipe was no exception. It turned out pretty good, if only a tiny bit dry. I think my oven runs hot so will try reducing the baking time next time.
This isn't a very sweet cake, which is good when you're trying to be good, and the whole wheat flour adds extra fiber and nutrition. The blueberries scattered on top added a nice juiciness to each bite, and would even be good folded into the batter. If you don't have blueberries, any kind of berry would work well instead.

1 1/2 cups all-purpose flour
1 cup whole wheat pastry flour
1 Tbsp baking powder
1/2 cup sugar (turbinado or regular)
1/4 tsp ground nutmeg
2 eggs
1 cup buttermilk
4 Tbsp butter, melted
1 tsp pure vanilla extract
1 tsp grated lemon zest
1 cup fresh blueberries (or any berry)
3 Tbsp raw turbinado sugar
Preheat oven to 400 degrees. Grease and flour a 12 by 8 inch pan (or similar size) with sides at least 2 inches high. In a large bowl sift the flours, baking powder, sugar and nutmeg. In a smaller bowl whisk the eggs until fluffy. Add the buttermilk, butter, lemon zest and vanilla to the eggs. Mix together well. Pour the wet mixture into the dry ingredients, and gently mix together just until combined.
Do not over mix the batter or the cake will be tough. Spoon the batter into the pan, spreading it so that it reaches all sides. Scatter the half of the blueberries on top, pressing them lightly into the batter. Then scatter the rest of the blueberries on top and sprinkled with the raw sugar. Bake for 20-25 minutes or until a toothpick inserted into the center comes out clean. Let cool in the pan before cutting into squares.
(adapted from Apples for Jam
Subscribe to:
Posts (Atom)


